下载MySQL安装程序
如果要在Windows环境中安装MySQL,使用MySQL安装程序是最简单的方法。MySQL Installer为您的所有MySQL软件需求提供易于使用,基于向导的安装体验。产品包括最新版本:- MySQL服务器
- MySQL连接器
- MySQL Workbench和模型实例
- MySQL通知程序
- MySQL Visual Studio的工具
- MySQL Excel 工具
- MySQL示例数据库
- MySQL文档
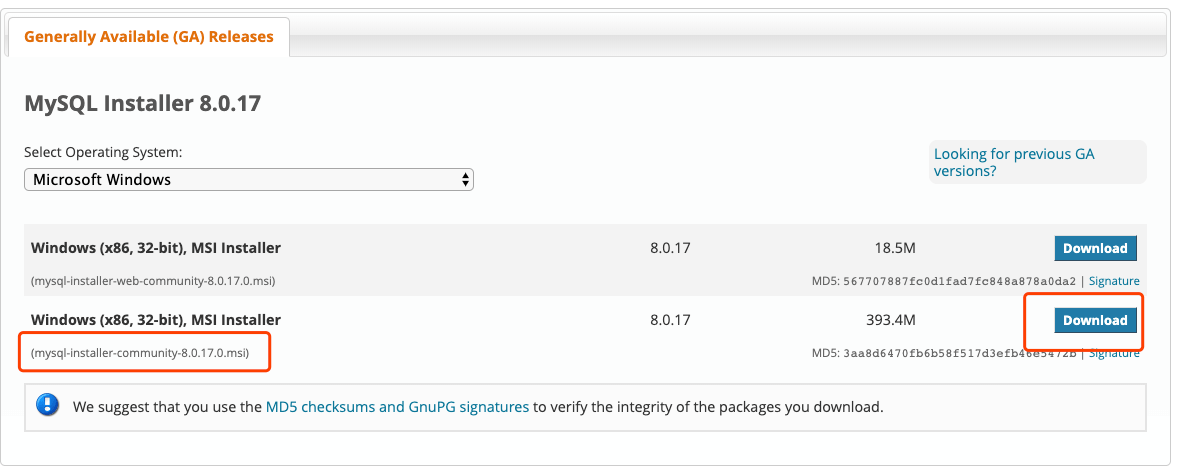
- 在线安装 下载
mysql-installer-web-community.exe - 离线安装 下载
mysql-installer-community.exe
注意:MySQL Installer是32位,但会同时安装32位和64位二进制文件。
现在,我们来一步步来年,如何下载并安装 MySQL 服务器软件
1,我们使用离线安装,点击"Download"下载
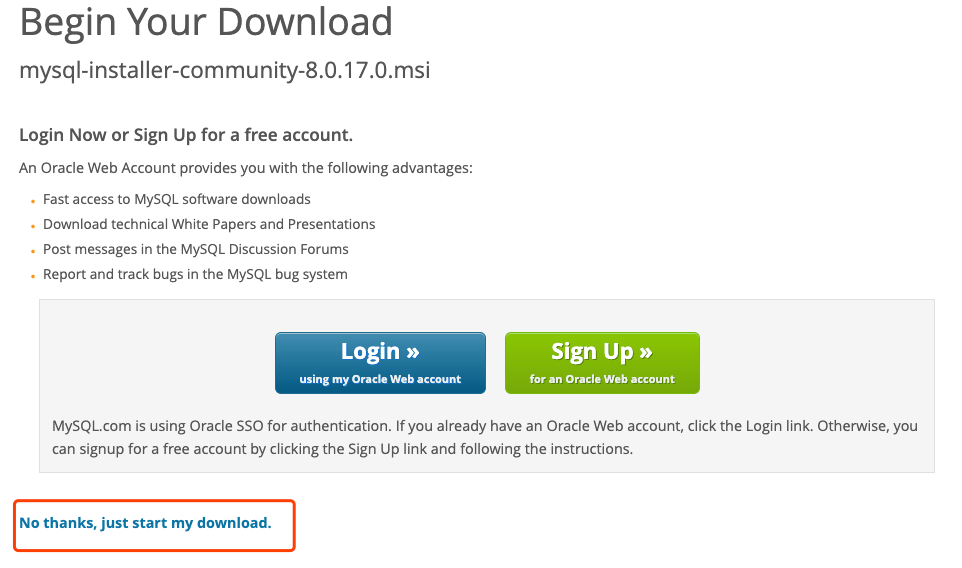
在弹出第二个页面中,选择点击“No thanks,just start my download.”跳过注册/登录帐号环节直接下载。如图
2,下载完成后,我们打开下载程序,并接受协议。

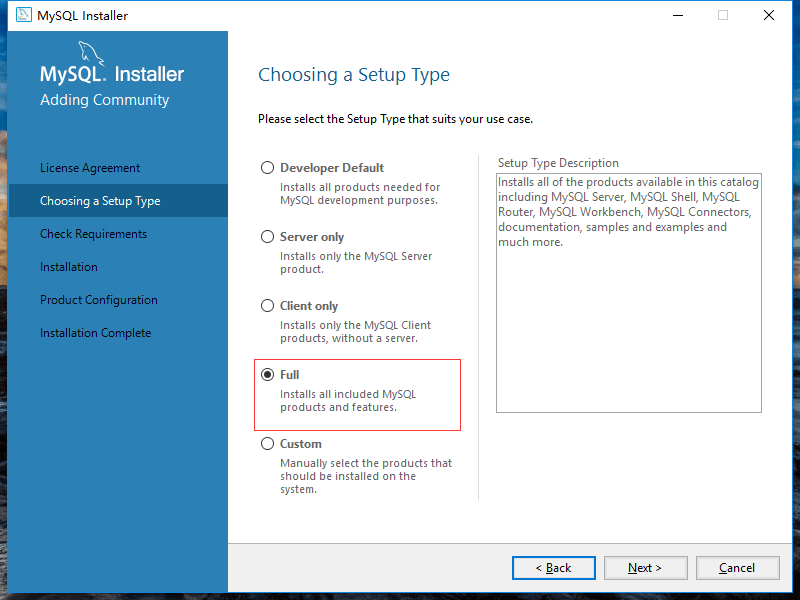
3,进入安装类型选择页面,我们选择全部安装“Full”
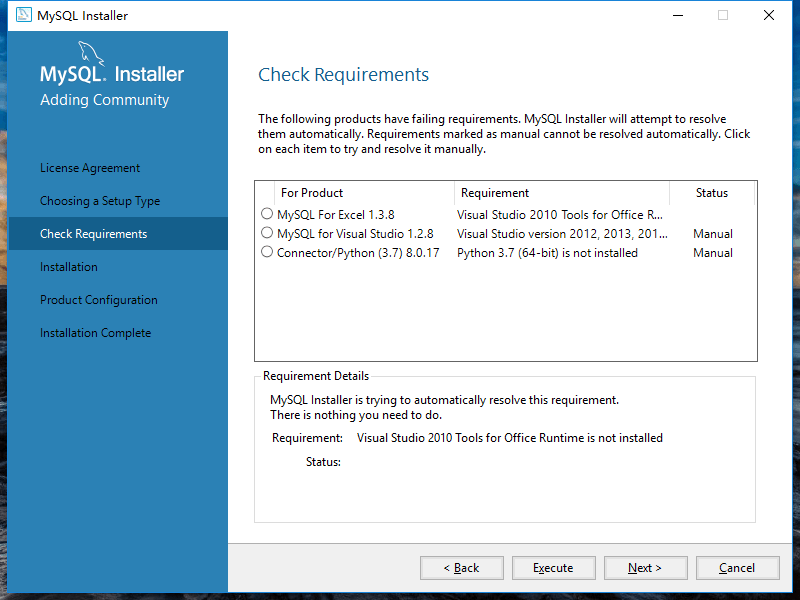
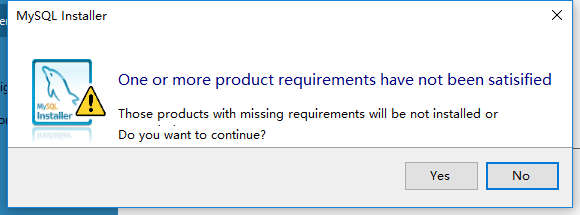
4,检查MySQL的必须软件
5,如果有些工具不存在,跳过过去,直接安装
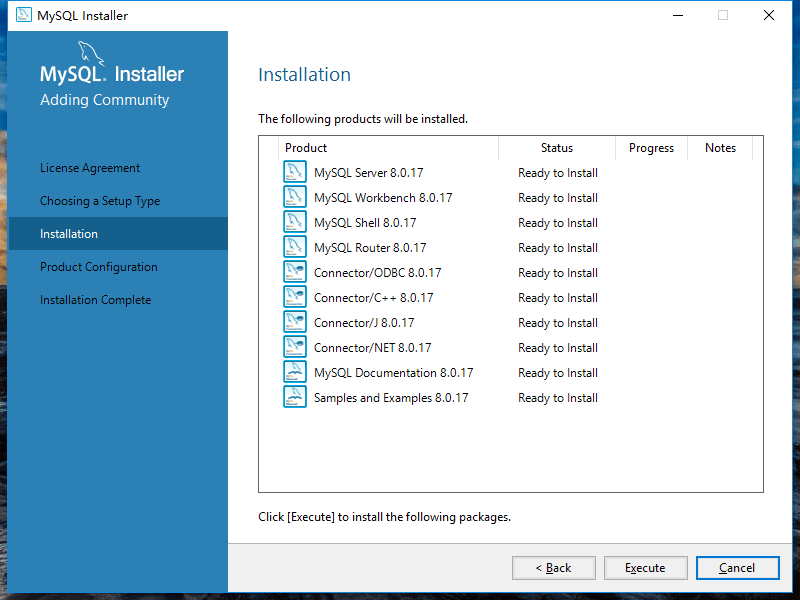
6,MySQL 安装的产品列表页面
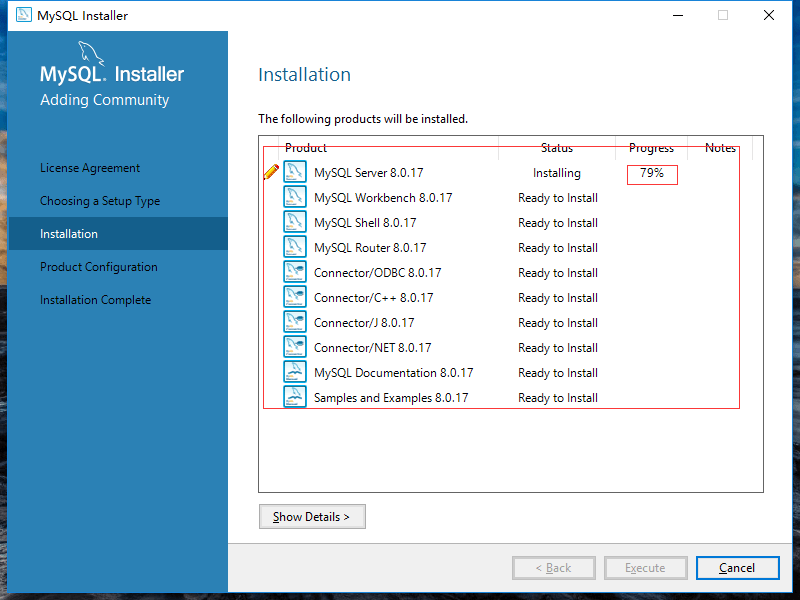
7,点击下一步后等待一步一步安装完成
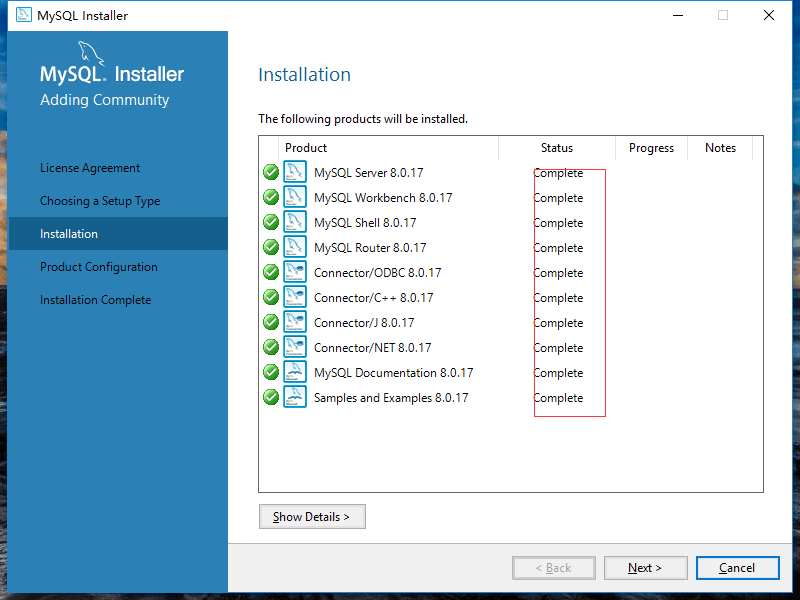
8,安装安装完成
9,MySQL 配置界面

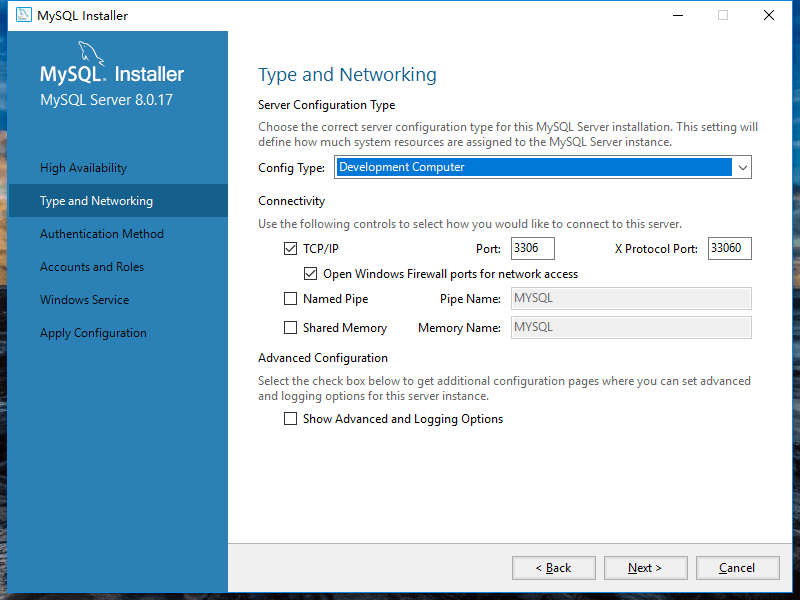
10,MySQL类型选择及网络配置,默认一下步
11,MySQL 用户设置界面,默认下一步
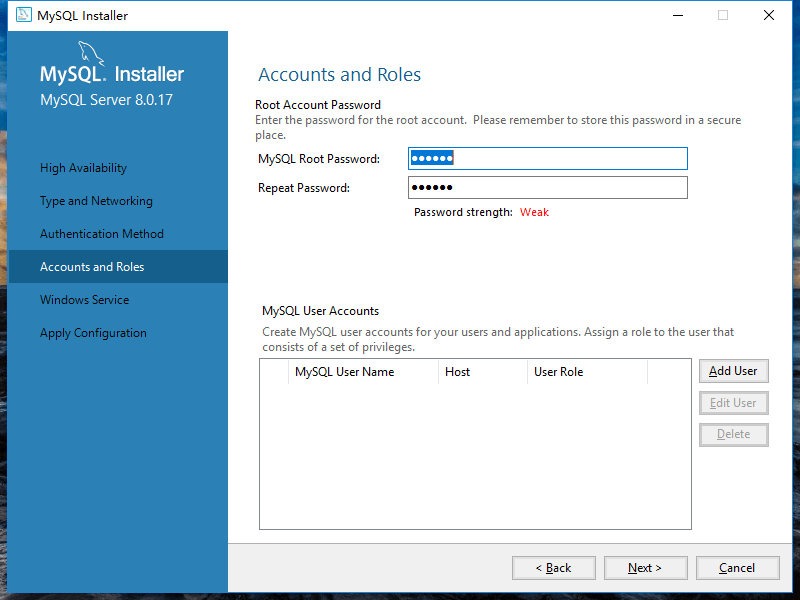
12,MySQL 服务管理员密码设置,设置好密码进入下一步。
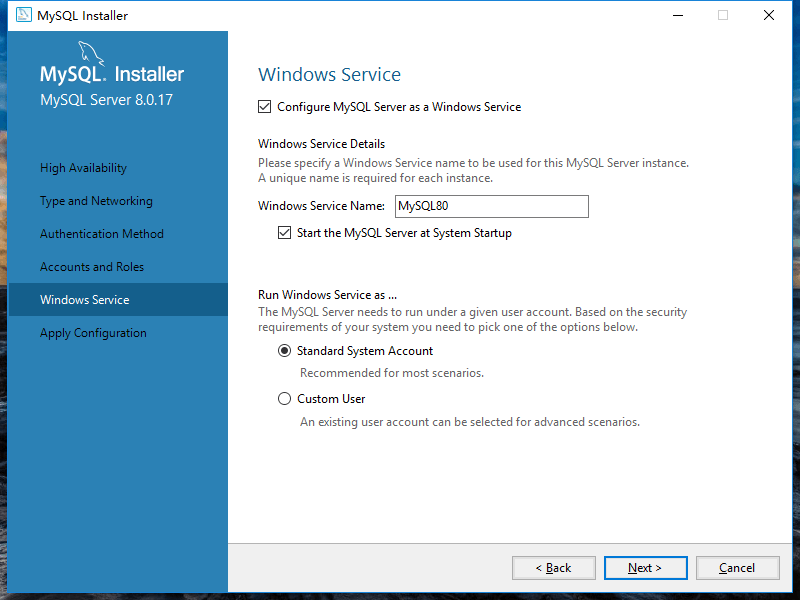
13,MySQL 服务名称设置,默认下一步。
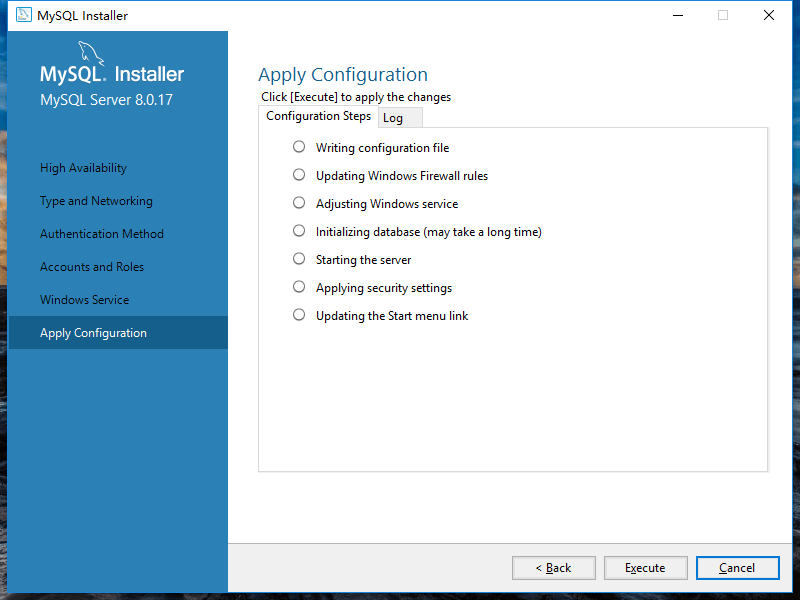
14,MySQL 服务的配置文件,默认执行
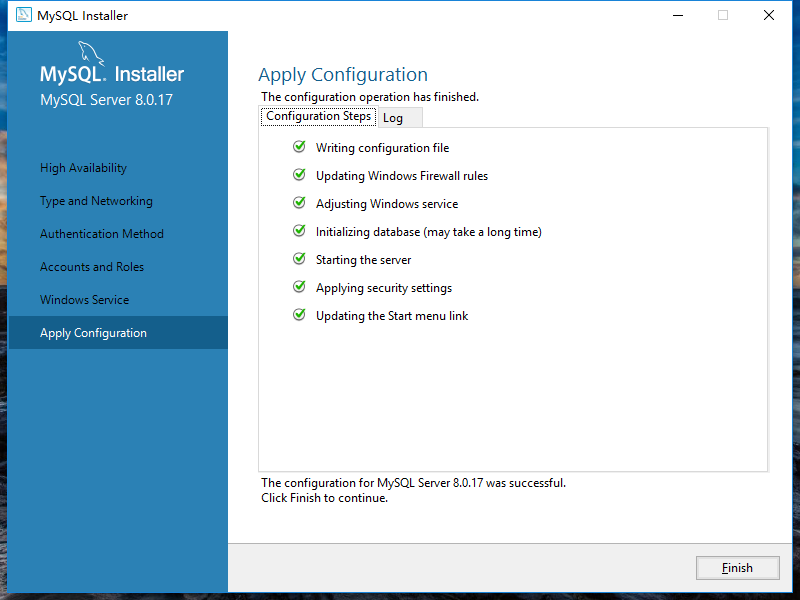
15,MySQL 服务的配置文件执行完成。
16,返回MySQL 配置文件界面
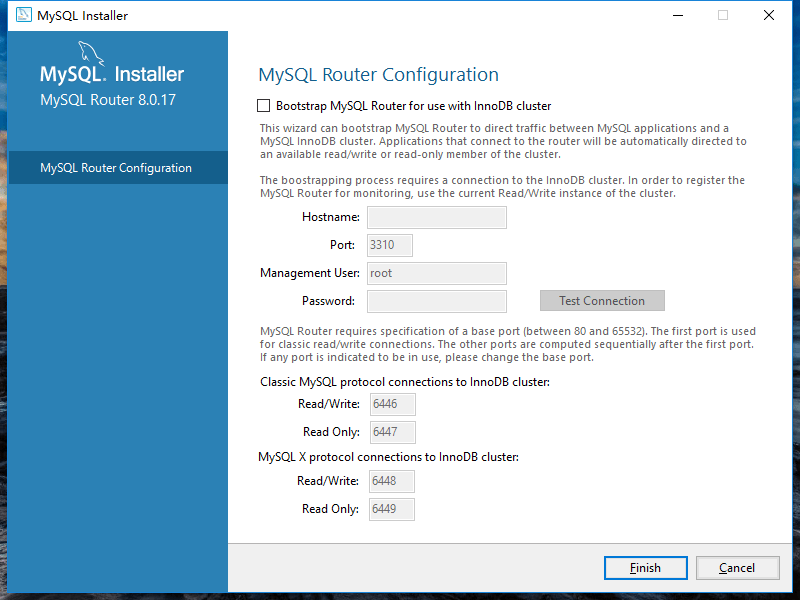
17,MySQL 路由配置,默认下一步。
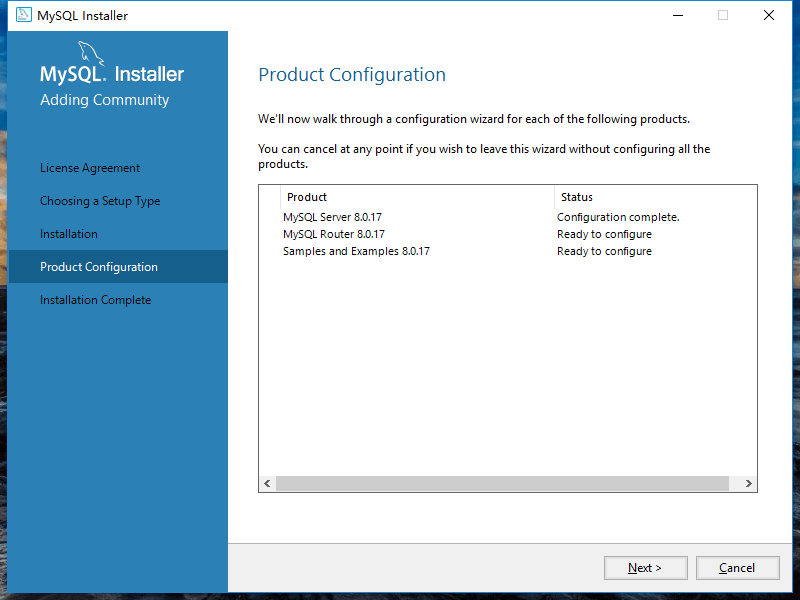
18,返回MySQL产品配置界面
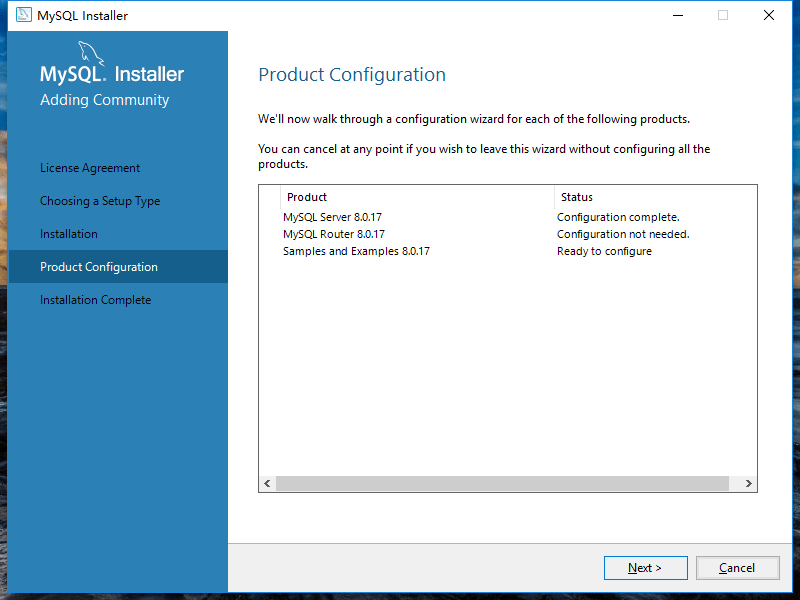
19,MySQL 实例配置
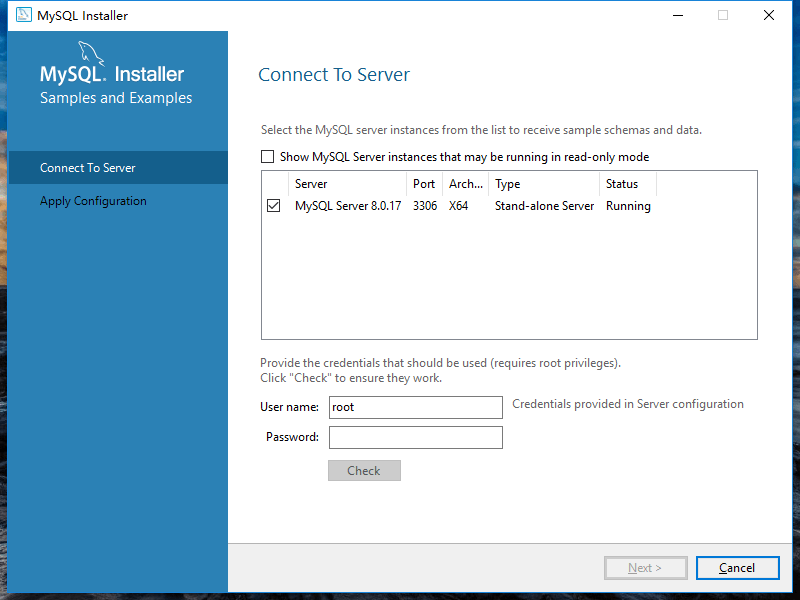
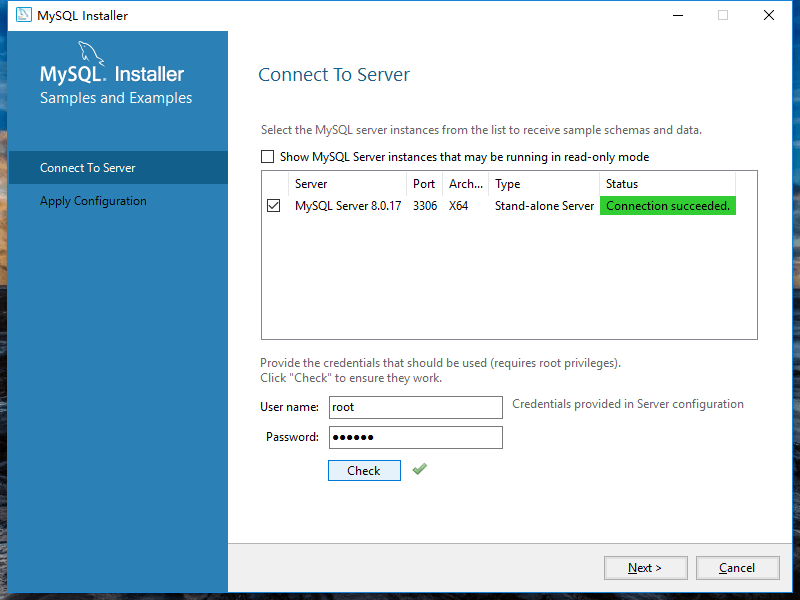
20,MySQL 实例安装配置,输入正确的密码,点击"Check" 连接成功。
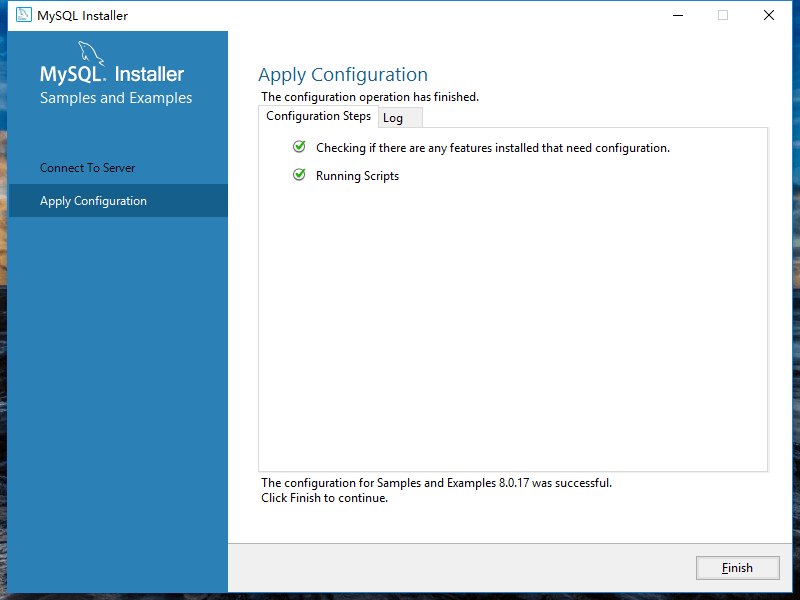
21,MySQL 配置文件执行
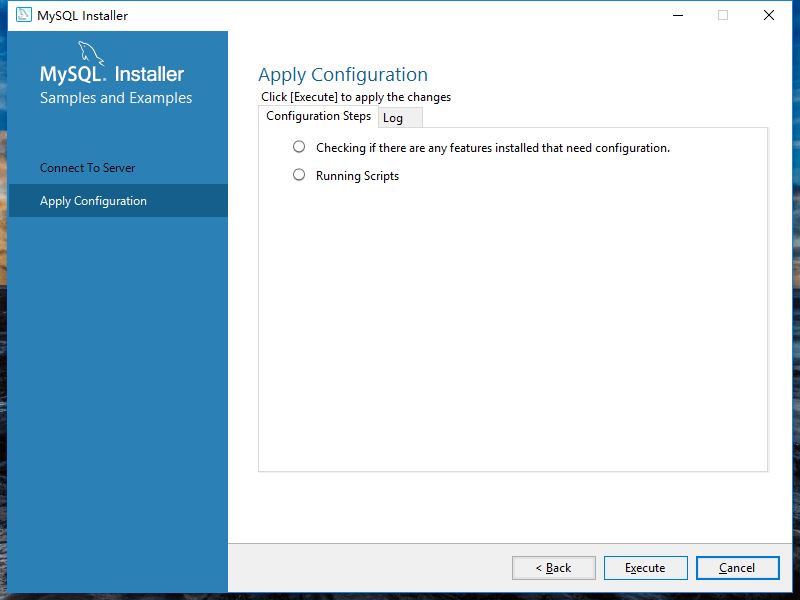
22,MySQL 实例配置文件执行完成
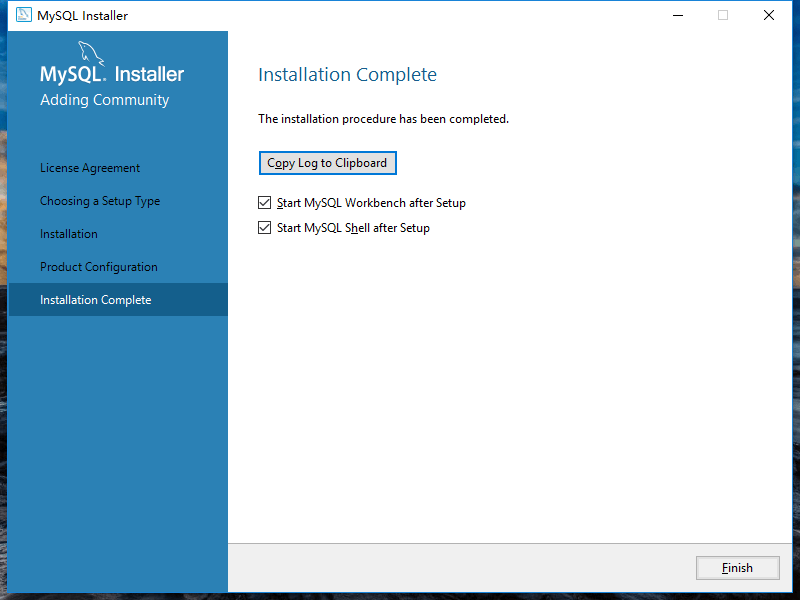
23,MySQL 安装完成,点击完成后会打开 "MySQL SHELL" 和"MySQL Workbench",如果不想打开勾选去掉。
到目前为止。MySQL 安装完成,我们可以直接使用MySQL了,让我们下载MySQL实例数据库,并将导入MySQL服务器中,通过MySQL教程的练习和学习MySQL。
